
Gutter systems keep buckets of rainwater off your lawn and siding and away from the house foundation, where water can cause dampness and rot. They’re easy to install but take a little prep work and a good ladder to get up high on.
Start by marking layout lines for your gutter system on the fascia boards. These lines indicate where the gutter should slope and where downspouts should go.
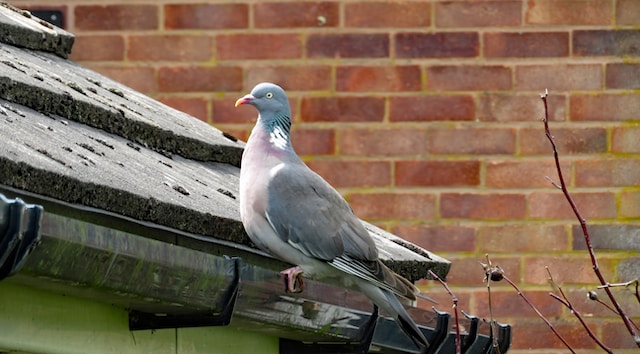
Gutters and Downspouts
The gutters channel water from the roof into downspouts, directing it away from the house’s walls and the foundation. Downspouts also prevent rainwater and snowmelt from collecting in puddles beside the building walls.
The fascia board of your house should be accessible. Access your home’s fascia board and lightly tap in a nail at the highest point of the slope on each gutter run to decide the arrangement of your new gutter system. Aim for a 1/4-inch vertical drop for every 10 feet of gutter run. Please ensure the nail is high enough that the downspouts won’t obscure it.
If your gutter run is long and you plan on having downspouts at both ends, mark the low point of the slope on the fascia board. This helps gravity pull the water toward the downspout locations. When your gutter wraps around an outside corner, cover the joint with a strip miter and rivet it in place with pop rivets. Add end caps to all corners and the top of each downspout outlet.
Preparation
Gutter systems control water flow around your home and are vital to your roof’s health. If moisture isn’t moved away promptly, it can damage your roof and home exterior and undermine your foundation. Choosing a contractor for your gutter installation Hillsboro who will treat your home and property with the care it deserves is essential.
If your home has existing gutters, use a level and chalk line to mark a desired slope on the fascia board. Determine where downspouts will be located, and mark these spots on each gutter section based on your plan.
As you work, set each gutter run by its respective ladder in the order it will be installed. Then, prepare the first length to be attached by installing a slip-joint splice on each end. Trim the gutter to its length, using tin snips if needed. Install downspout outlets on each splice and caulk the seams of each gutter section with gutter lap sealer.
Materials
Gutter systems aren’t just a part of the home exterior; they keep water away from your house’s foundation, walls, and roof. That means it’s essential to choose a contractor that uses good techniques and materials for installation. Cutting corners can lead to problems later on.
If your roofers are installing new gutters on a home that previously had gutters, a quality roofing professional should carefully inspect the fascia and eaves to ensure there isn’t any damage, then repair or replace them as needed. This step is crucial if your gutters are metal.
Locate the high point of the gutter slope and temporarily tack a nail there. Then, use a bubble level to snap a chalk line across the gutter slope and remove the nail. For long gutter runs, it’s best to slope them down both sides from the center to a single downspout; shorter runs can only be pitched down one side.
Installation
Gutters are a vital part of a home’s system for draining moisture away from a house and its fascia boards, siding, and foundation. But, how they are installed can make a big difference in their functioning and longevity. A good gutter contractor will always follow best practices and never cut corners that could lead to future problems with your new gutter system.
Start by marking the layout of the gutter runs on the fascia board with a pencil and a straight edge. Mark the high points of the slope on the line and the low point where you plan to put the downspout outlets.
Cut the first portion of the gutter to length with a pair of tin snips. When cutting, work carefully and be sure not to distort the gutter shape. When one gutter run meets another, install a slip-joint splice fitting to connect them. Secure the splices with rivets.